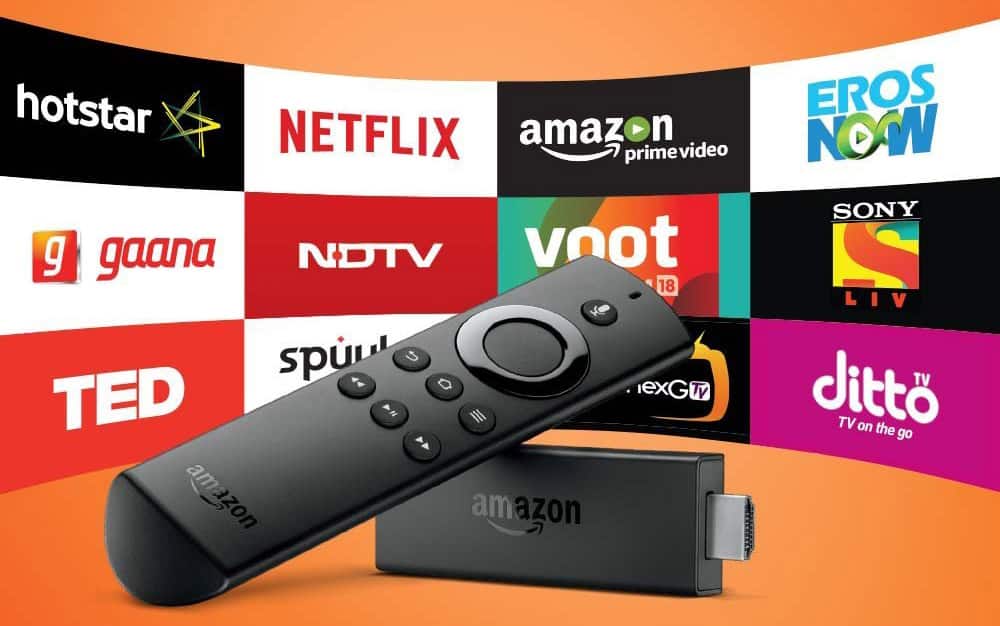
Have you ever heard of the Amazon Fire Stick? This is a small yet amazing device you can plug into your TV’s HDMI port. Once plugged, you can stream content online from many types of media platforms, such as HBO, Netflix, Pandora, YouTube, and more! It even comes with a remote control that you can use by either voice control or pressing buttons. So you can turn all your TVs into a Smart TV just by plugging the Fire Stick.
But if you do already own one, you may be wondering about how to jailbreak an Amazon Fire Stick. But what does this mean and what are the steps to follow? Read on as I show you the complete guide to jailbreaking your Amazon Fire Stick!
What’s A Jailbroken Amazon Fire Stick?
Before I start showing you how to jailbreak Amazon Fire Stick, I want to point out that these aren’t actually jailbroken! When one says that their Amazon Fire Stick is jailbroken, it means that there is a media server software installed on it, which is usually KODI. We’ll get onto what KODI is in the next section.
Jailbreaking really means that there is a superuser access, without any restriction on the device. A popular jailbroken device comes from Apple products, usually iPhones.
But what makes the Amazon Fire Stick different is that it doesn’t need any modifications or hacks when installing the media server software.
What Is KODI?
KODI was formerly known as XBMC, which is a free and open source software media center.
With KODI, you are allowed to play television shows, movies, or other forms of media in various devices. You will also be able to access content from the internet with add-ons, which were created by the members of the software’s open source community. These add-ons aren’t part of any of KODI’s official versions. Basically, it’s a whole media center for everyone to enjoy for your device, may it be computer or television.
Is It Illegal?
To put it bluntly, no. Installing KODI is not illegal and isn’t considered as jailbreaking. The only difference between the typical Fire Stick and the jailbroken version is KODI and nothing else. The only time legality comes to place is the way you’ll be using the Fire Stick.
For those who use the Fire Stick for viewing shows and movies that require payment, then chances are that you are messing with the lay. For people hiring someone to “jailbreak” their Fire Stick, they are most likely installing the KODI software to watch paid content without having to spend on anything. This is done by the add-ons from KODI users, which provide access to pirated media.

For those who plan on using KODI for the pirated content or to watch paid shows for free, then it’s best to use another software that keeps yourself anonymous.
While KODI is a reputable and legal software to install, misuse of it may end up with someone going to court. I recommend that you either install software that keeps you anonymous or to be honest and use KODI without any bad intention.
How To Jailbreak Amazon Fire Stick
There are different methods on how to jailbreak Amazon Fire Stick. You can choose between these and see which works:
BEFORE ANYTHING ELSE: HIDE IP ON YOUR FIRE STICK!
Before you jailbreak your Fire Stick, you must hide your IP address. This will prove the ISP from spying on your activities with the Fire Stick, meaning you won’t get any copyright infringement notices. With that being said, you’ll need to install a VPN on your Fire Stick to hide the IP Address.
There aren’t a lot of VPNs which work on a Fire Stick, though I recommend the IPVanish VPN. It’s free and only requires you to sign up and log in. Follow these steps:
- Launch your Fire Stick and go to the Apps section, found on top of the home screen.
- Select Categories, then Utility. Choose the IPVanish VPN app and click on Get. Wait for the app to download and click on Open.
- Sign in to your VPN App and choose the server location you would like to connect to.
- When the VPN Connection is established, click your home button and start jailbreaking the Fire Stick!
Installing Kodi 16.1 Jarvis Without a Computer
This method is to install the Kodi 16.1 Jarvis on an Amazon Fire Stick that is Fire OS 4 or below that. In this method, we use no computer. It’s one of the easiest and quickest ways to “jailbreak” and installs the software, as you won’t need to jailbreak or root your system when installing the software.
All you need is to tweak some of your system’s settings, own the E File Explorer App (which is free!), and to follow these directions:
- On the Fire Stick, navigate the screen and head on to Settings. Select System and then Developer Options.
- Switch on the ADS Debugging and Apps From Unknown Sources. Through doing this, the Fire TV will be able to have the KODI installed.
- Head on to your Fire Stick’s main menu and search for the ES File Explorer app. Install the app. Take note that you should type the whole name of the app to find it, as it won’t show up on the suggested search terms from Amazon.
- Open the ES File Explorer App. Check the left side and click Tools, opening the menu. Select the Download Manager. On the bottom of the screen, choose the + New button. A pop-up will show. Type “http://bit.ly/2aUA0RA” and rename it as Kodi Jarvis. Click Download Now and wait for Kodi to install.
- When the file has finished downloading, click “Open File.” On the next window, select Install. For those who are doing this to update an older version of the software, you’ll find another window, which confirms that the application has been updated. Select Install if this happens as well.
- When Kodi is now installed, click Open. Running it may take a few minutes at first, but it will load quicker after the second time. And now you can enjoy!
Installing Kodi 17.6 Krypton Without a Computer
Kodi 17.6 Krypton is the newest version available for the updated Amazon Fire Stick. Just like the previous method, it’s easy and only takes a few minutes!
- On your Amazon Fire Stick, select Settings and go to Device. Select Developer Options and turn ON ADS Debugging and Apps From Unknown Sources.
- Go back to the home screen and click on your left to the search tool. Type in “Downloader” and search.
- When you have found the Downloader App, select Get and wait for it to download. Once it has installed, click Open. You may need to click OK if a notification comes up from opening it.
- Click on the bar which has “HTTP://” When the box comes up, type “http://kodi.tv.download” and then click GO. There will be another box that appears. Select “Open In Browser” and the main page of Kodi will come up.
- Scroll down the page then select Android. Select ARMV7A (32BIT). Allow the file to download.
- Once the file has finished downloading, click Install at the bottom right part of the screen. Let KODI 17.6 install. Once it’s finished, click open at the bottom right part of your screen. Now you can enjoy!
Installing Kodi 17.6 With a Computer
You can also install the latest version of KODI on your computer, but with a different type of app to download it. We’ll be using File Commander, which allow files to be copied from the computer browser and into the Fire Stick. It does this by giving an IP Address to type in the browser so the files will be uploaded to your Fire Stick. It’s just as easy to do as installing KODI without the computer.
- On your Amazon Fire Stick, head on to Settings, then go to Device. Select Developer Options and switch ON both the ABD Debugging and Apps From Unknown Sources.
- Go back to the home screen and click on the uppermost left part for the search option to pop up. Type in “File Commander” and click on its icon once the app has been found. Select “Get” to have it download and install.
- Once the app installs, click Open and Allow (access to files), if a pop up shows. When the app opens, go to the left part of the screen and go to the PC File Transfer. There will then be another window with a green bar at the bottom that says to Start Service. Click this green bar and an IP Address will appear on your screen, as well as the port it uses.
- This IP address will enter the browser from your computer to copy the files you install to the Fire Stick.
- There will be a certain IP Address that is shown on your Fire Stick. So use this specific IP Address, as it is unique for each installer.
- Go to the Computer window and open your browser, may it be Firefox, Chrome, or Safari. Type the IP Address and the Port Number, which was shown on your Fire Stick’s screen. The File Commander will then pop up.
- Now, you will be able to copy files to your Amazon Fire Stick, namely Kodi or any other APK Files! You can download Kodi into your computer by going to the official Kodi Download website: http://kodi.tv/download
- If you still haven’t downloaded the Kodi software into your computer to transfer to the Fire Stick, then follow these steps:
- Visit the Kodi page and click Android. Click ARM7A (32BIT), as this is the one used for the Amazon Fire Stick.
- Wait for it to download and once it’s on your computer, follow the next remaining steps.
- Go back to your browser with File Commander, then click on Internal Storage. Click the Download Folder. You can now drag and drop files to the File Commander to the Download Folder.
- Drag the Kodi APK file to your browser window then click UPLOAD when a pop-up appears. Wait for the file to upload to your Fire Stick.
- Once it’s uploaded, you can now install the KODI software. Head on back to the Fire Stick on your television and select Stop Service in the File Commander.
- From your File Commander (the main one), select Downloads and click on the Kodi APK File. Select Install on the bottom right part of your screen and wait for it to install.
- Once the software is now installed, enjoy!
Installing An Add-On From KODI
Now that you have “jailbroken” your Amazon Fire Stick, what’s the next part? It’s time to install a useful add-on to utilize the software and enjoy television shows and movies! Follow these steps:
- Launch the KODI app and visit the “Add-ons” section.
- 2. Head on to the Package Installer Icon found in the top left corner of the screen.
- Once there, select Install from Repository, then select Kodi Add-On Repository, then Video Add-Ons.
- Click any type of add-on you would like to add, then click Install.
- Wait for the add-on to install until you see the Add-On Enabled notification.
- Head on back to your Kodi app’s home screen, then select the Add-Ons tab found in the lefthand column.
- Select the Add-On you just installed, then enjoy!
Wrapping It Up
And there you have it! When it comes to jailbreaking your Amazon Fire Stick, you won’t need to spend a ton of money or hire people to do so. You are able to jailbreak it yourself, right in the comforts of your own home! But do take note of what may happen if you do jailbreak your Amazon Fire Stick.
I hope that this article on how to jailbreak Amazon Fire Stick helped you become more knowledgeable about what you should do to enjoy unlimited streaming! So don’t wait any longer! Follow these steps today and see if it worked for you.
If you have any questions or would like to share your tips and experiences with jailbreaking your Amazon Fire Stick, then comment down below. I would love to hear what you have to think.